Flash Galaxy Nexus to latest Android
Before we start
Warning 1: This procedure is taken at your own risk as it may result in a bricked phone.
Warning 2: After unlocking the bootloader of your device, ALL data will be wiped.
This procedure may also work for other Nexus devices. I personally tried it on my Galaxy Nexus GSM 4.1.1 yakjuxw using MacOSX and it was successfully updated to 4.2 takju.
Things you need
For Windows: Android SDK Platform-tools, Google USB Driver and Fastboot, Nexus images
For Mac/Linux: Fastboot, Nexus images
If using Windows, install Android SDK Platform-tools and Google USB Driver before connecting your device to the pc.
Make sure to download the CORRECT version of images for your device from Google’s website.
Flash/Install Procedure
- Extract Fastboot and Nexus images in the same directory. Move sure that all .img files are located in the same directory (may need to replace boot.img of Fastboot with boot.img of Nexus image)
- Turn USB Debugging ON from “Settings” -> “Developer options” and connect the device with the computer.
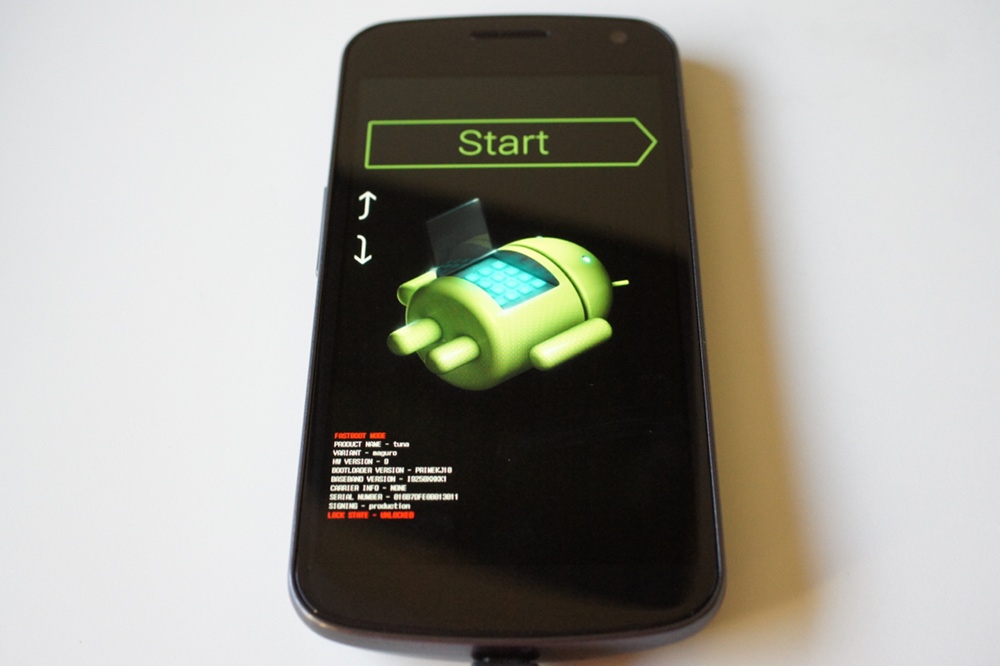
- Turn device off. Turn it on in bootloader mode by keeping pressed up+down volume buttons and power button.
- Using command line navigate to the directory where Fastboot and Nexus Images are placed on your computer.
- Unlock bootloader using Fastboot. Note that there are different versions for Windows (fastboot), Mac (fastboot-mac) and Linux (fastboot-linux). Use the correct one!
# ./fastboot-mac oem unlock
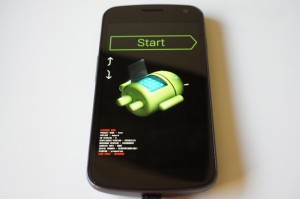
Choose Yes using up/down buttons. To select press the power button.
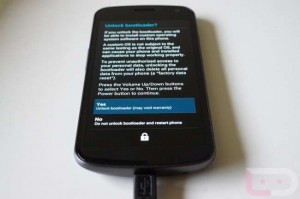
When the bootloader is unlocked you will see something like this:
- Reboot in bootloader
# ./fastboot-mac reboot-bootloader - Flash bootloader image
# ./fastboot-mac flash bootloader bootloader-maguro-primelc03.img - Reboot in bootloader
# ./fastboot-mac reboot-bootloader - Flash radio image
# ./fastboot-mac flash radio radio-maguro-i9250xxlf1.img - Reboot in bootloader
# ./fastboot-mac reboot-bootloader - Flash system image
# ./fastboot-mac flash system system.img - Flash userdata image
# ./fastboot-mac flash userdata userdata.img - Flash boot image
# ./fastboot-mac flash boot boot.img - Flash recovery image
# ./fastboot-mac flash recovery recovery.img - Erase cache
# ./fastboot-mac erase cache - Reboot
# ./fastboot-mac reboot
Ready to go with your Galaxy Nexus & latest Android version!

